
Campaigns table
When you open the Campaigns ("Campañas") section from the main menu, you'll find a table summarizing all the campaigns created in your Workspace.
Each row shows:
- Campaign name
- Campaign type (UGC Ads, Organic, Clips)
- Who created it on the team
- Current status (Active, Closed, In Selection, etc.)
📌 To see the details, click the campaign name and you'll go straight to the Campaign Pipeline, where you can manage applications, pre-selection, ODTs, deliveries and reviews.
📎 You may also be interested in:
▶️ What is the Campaign Pipeline?
Create a new campaign
Click the Create Campaign ("Crear Campaña") button in the top-right corner of the section to start a new flow. This opens the Campaign Creation Form, where you can define the goal, type, deliverables and creator profile.
📎 You can check the step-by-step guides for each campaign type:
▶️ How do you create a UGC Ads campaign?
▶️ How do you create an organic campaign?
▶️ How do you create a Clips campaign?
Alert indicators
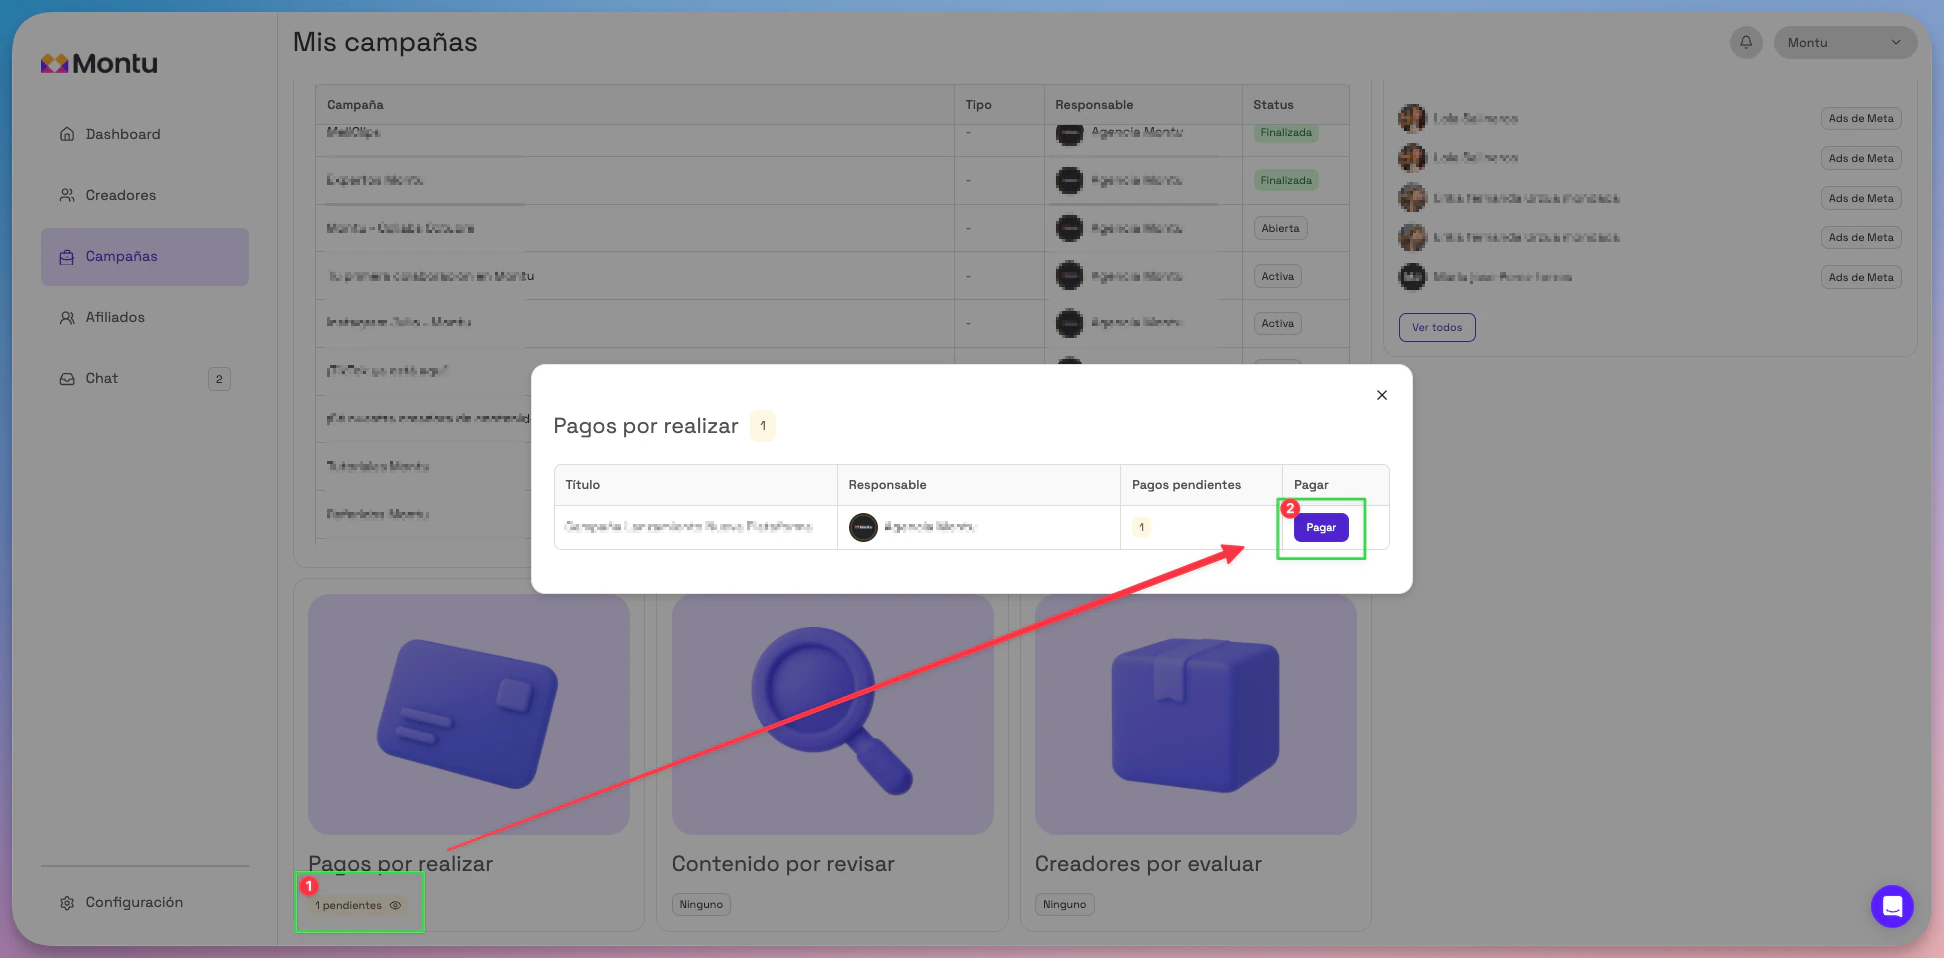
Below the main table, you'll see three alert icons that show your team's pending actions:
- Payments to make ("Pagos por realizar"): Shows how many campaigns have Work Orders in Pending Payment ("Pendiente de Pago") status.
- Content to review ("Contenido por revisar"): Shows how many campaigns have videos in To Review ("Por Revisar") status, waiting for your approval or feedback.
- Creators to review ("Creadores por evaluar"): Shows how many campaigns have completed collaborations, where all that's left is for you to rate the creator to close the ODT.
🔍 When you click any of these icons, a modal opens with:
- The name of the campaign with pending actions
- The exact number of actions it requires
- A button to go straight to that campaign
Latest approved content
On the right side of the screen, you'll see a list of your latest approved content.
From there you can:
- Quickly see the most recent material
- Use the View All ("Ver Todos") button to open the Content Library and review all your content organized by campaign